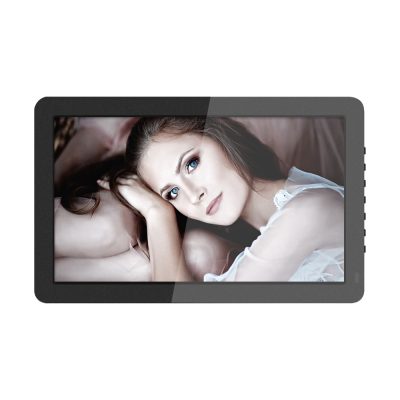
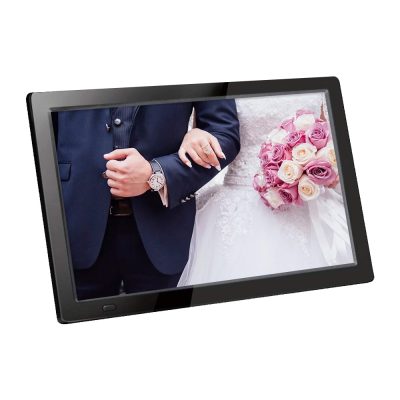
1. Check the memory card
The general digital photo frame should be able to support SD memory card and U disk. Check if your camera memory card is the type of memory card that this digital photo frame can read. If it is not a compatible memory card, you can use a card reader to read the memory. Card, insert the camera’s memory card into the card reader, and then insert the card reader into the USB port of the digital photo frame, or directly use the U disk to insert the digital photo frame to play photos. Put it into the side slot of the digital photo frame and make sure that the type of memory you put on the card is based on the memory card in the correct slot, as there may be multiple slots.
2. Adjust the color of the photo
You can use it with the digital photo frame, or with the button on the remote end, if it’s with this one. A remote control is easier to handle with buttons on the side, plus you can see what you are doing more easily.
3. Adjust the music volume
If there is any use the remote control or buttons on the digital photo frame. This can be especially good if you are showing the video frame on your photo, because you can adjust the sound accordingly.
4. Play
After transferring the photos, place or hang the digital photo frame, turn on the power to set the photo playback interval, repeat and other options, so that it will automatically play the photos.


